Dahua NKB1000 Not Showing in Config Tool
With the Dahua NKB1000 Network Control Keyboard from Dahua Technology, you can control devices on a network. This keyboard has extra functions. And can be used to control PTZ dome cameras, DVRs, and network video servers. Use the joystick and the keys on the keyboard to move around easily.
The camera is easy to control because the controller has pre-set positions, auto scan, auto pan, auto tour, and pattern control. The mono LCD screen has an on-screen menu for devices that are connected, and the USB port can be used to control SmartPSS.
Table of Contents
Dahua NKB1000 Not Showing in Config Tool Features
- Control High-Speed Dome, DVR, and Network Video Servers
- Joystick Control for PTZ Functions in Three Dimensions
- Position, Auto Scan, Auto Pan, Auto Tour, and Pattern Control can all be set.
- On-screen Menu
- Backs up SmartPSS (via USB connection)
Setting up the Dahua NKB1000 Not Showing in Config Tool
I have a Dahua Nkb1000, but the config tool doesn’t show it. I went to the settings page and tried to reset it, but nothing worked. How can I help? If you are having trouble setting up your Dahua Nkb1000, you can try a few different things.
You have installed the latest firmware, you may not need to reset your device. If you haven’t installed the latest firmware, you should try resetting your device by going to the settings page and clicking “Reset Device.”
If that doesn’t fix the problem. You might need to change the way your network is set up. Go to the settings page and click “Network Settings” to change your network settings. Choose “Wireless Network” from the “Network Type” menu. Choose “Dahua NKB1000” from the list under “Wireless Network Type.”
How to Setup NKB1000 Over Network?
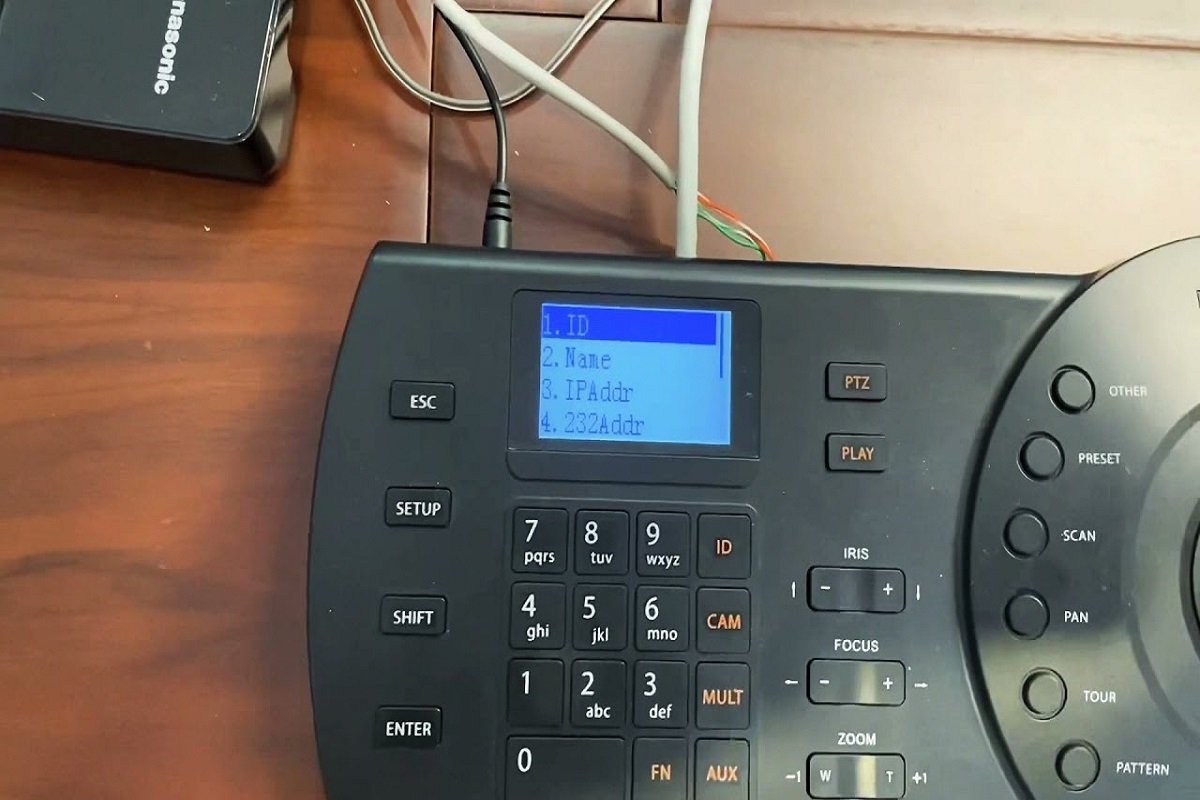
- Plug your NKB1000 into a network and a power source. Once the screen is up and running, it should look like the picture below.
- Press the NKB1000’s Setup button.
- Type in the password for your NKB1000 and press Enter.
- Use the joystick to find “Menu Settings,” then press “Enter.”
- Choose “Zone” and press the “Enter” button.
- Input the following:
- ID: (Any Number)
- Name: (Any Number)
- SD (PTZ), DVR, or NVR.
- Link: Net
- IP Address: (The IP address of your SD, NVR, or DVR)
- Port: 37777
- Step: (Leave as defaults)
- Rule: DH-2
- User: admin (or the name of the user on your NVR)
- The password is admin, or the password for your NVR.
- Press “Enter,” and you should see “Successful” on the screen.
- Press “ESC” until the Main Menu appears.
- Press “Enter” after choosing “Zone Control”
- Type in the ID you made earlier and press the “Enter” button.
- You’ll see a box with the words “Connecting” in it. When everything is done. Your screen should look like the picture below.
- “Cam” Press
- Use the number pad on your NKB1000 to select the channel you want to control.
- Press “PTZ,” followed by “Enter.”
- If everything went well, the screen of your NKB1000 should look like the picture below. You can now use the NKB1000 to run your PTZ.
Read More: